
When the dried bayberry is completely cool
I have been eating dried bayberry since I was a child. I often go to the supermarket and buy some dried bayberry. I know that the candied fruit sold outside has various additives and preservatives, but I can’t refuse this temptation. . . Hey ~~It is the time of bayberry season. For me, I am thinking of making some bayberry stem to solve my own greed!Today I will teach you how to make dried bayberry at home. In fact, the operation process is very simple, that is, the frying process is a bit troublesome. You must stay in front of the pot, otherwise the bayberry will be paste, but this is really nothing for food. . . (* ^ __ ^ *) ……The dried bayberry made at home has no additives and no preservatives, so you can eat it with confidence! But candied sugar is relatively high and calories are high! For you who lose weight, it is good to eat a few tablets to solve the problem!
How to make candied bayberry
Step1
Prepare fresh bayberry, rinse with clean water several times, and drain to reserve;

Prepare fresh bayberry,
Step2
Pour the cleaned bayberry into the pot, add an appropriate amount of water, add a spoonful of salt, and boil over high heat, then pour the boiled bayberry water;
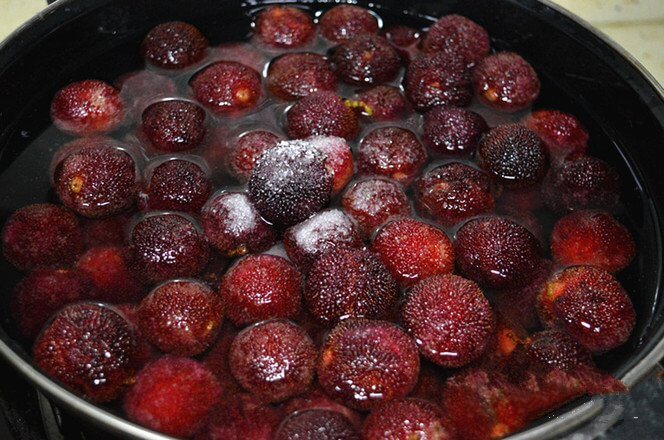
Pour the cleaned bayberry into the pot,
Step3
Add rock sugar, continue heating, and boil the rock sugar. At this time, the bayberry will also ooze water. After boiling, turn to a low heat to continue cooking, or stir fry from time to time to prevent the pan from sticking. Be patient; (If you like something sour, you can add some lemon juice)

Add rock sugar, continue heating,
Step4
Stir up and down like a stir-fry, stir-fry until the water is dry, and the bayberry gradually becomes smaller and the color becomes darker. If you like dry, you can cook it for a while, as long as it does not paste it.(As long as you don’t turn the shovel around, don’t worry about mixing! Don’t worry about the bayberry breaking up)

Stir up and down like a stir-fry
Step5
Code the fried bayberry evenly on the baking sheet lined with tin foil;

Code the fried bayberry evenly on the baking sheet lined with tin foil
Step6
Put into the oven, middle level, top and bottom fire, 120 degrees, 60 minutes! (If you do n’t have an oven, you can use a microwave oven for about 6 minutes, depending on the dryness and wetness of the bayberry. If there is no oven or microwave, you can only dry naturally by the sun! ^ __ ^ *)

Put into the oven, middle level,
Step7
Roasted dried bayberry;

Roasted dried bayberry;
Step8
When the dried bayberry is completely cool, sprinkle with an appropriate amount of sugar, the bayberry will be done!
When the dried bayberry is completely cool
Step9
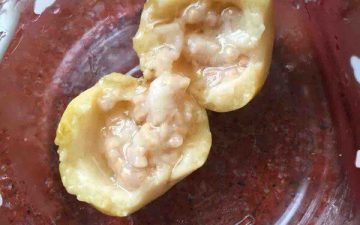
Here is one, sweet and sour, a bit of a childhood taste ~

Here is one, sweet and sour, a bit of a childhood taste ~
Step10
Put it in a jar and keep it in a sealed state. It is best to keep it in the refrigerator for this weather. Because the dried bayberry is made without additives, it is eaten as soon as possible!

Put it in a jar and keep it in a sealed state.


Leave a Reply